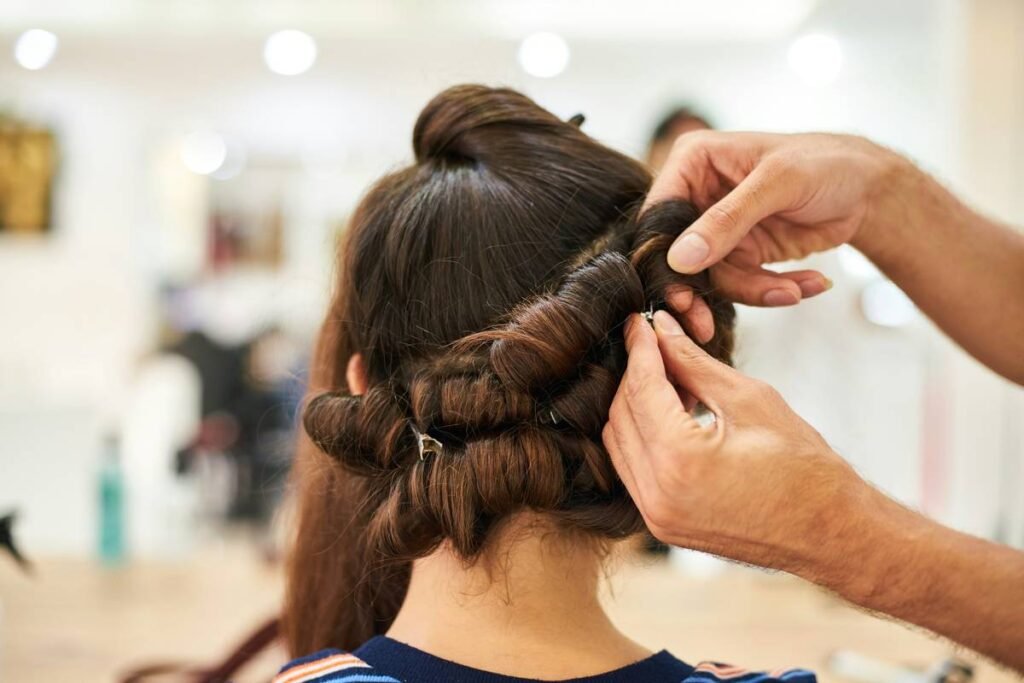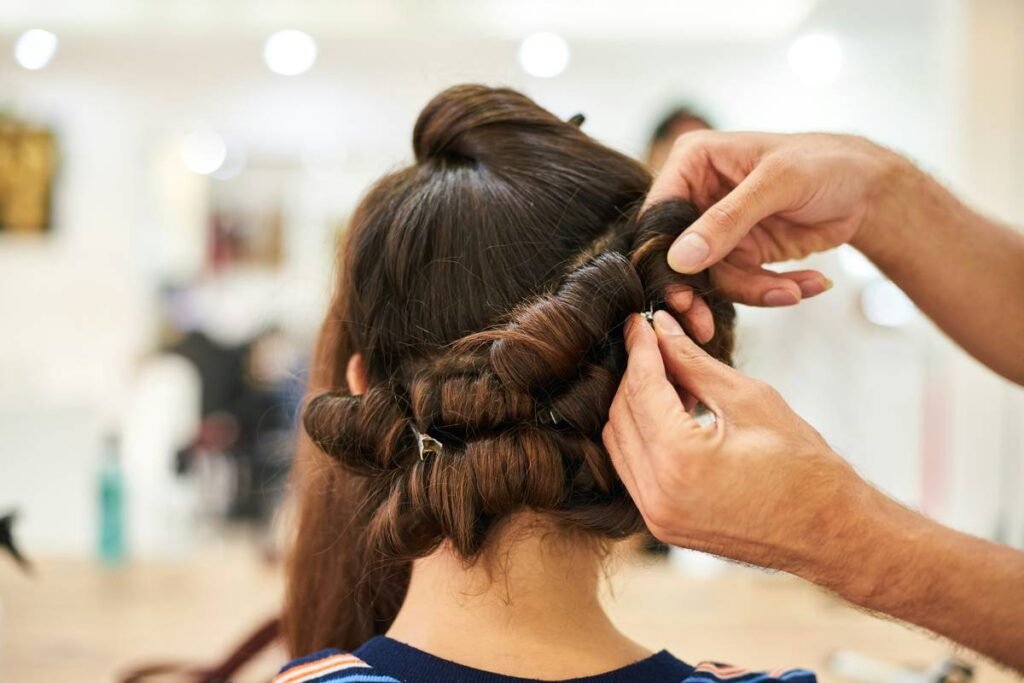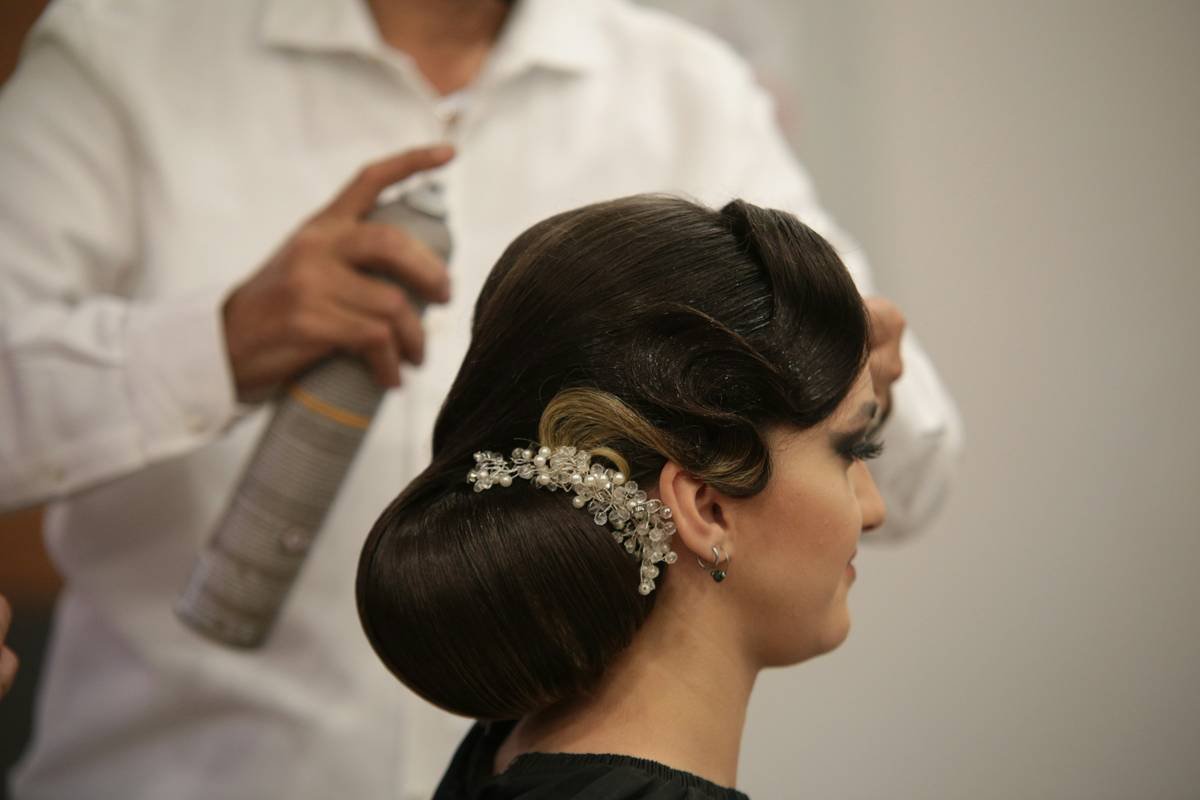
Ever spent 20 minutes artfully arranging vintage hair pins, only for your updo to collapse by 11 a.m.? Yeah, me too. I once pinned a cascade of pearl-studded bobby pins into what I swore was “editorial-level volume”—only for humidity to turn it into a sad, slumped nest before my Zoom call even started.
Here’s the secret most influencers won’t admit: the real MVP behind secure, polished hair pin styles isn’t expensive clips or hours of YouTube tutorials—it’s styling gel. And not just any gel slapped on like hair glue. When used strategically with hair pins, styling gel becomes invisible architecture: hold without stiffness, shine without greasiness, control without crunch.
In this post, you’ll discover how to use styling gel as a foundational tool—not an afterthought—for flawless hair pin styling. You’ll learn:
- Why water-based gels outperform alcohol-heavy formulas for pin retention
- Exactly where (and how much) to apply gel when building intricate updos
- Pro techniques from session stylists that prevent pin slippage mid-day
- The #1 mistake 92% of DIYers make (hint: it’s not using too little)
Table of Contents
- Why Do Hair Pins Keep Slipping Out?
- How to Use Styling Gel With Hair Pins: A Step-by-Step Guide
- 5 Best Practices for Long-Lasting, Camera-Ready Hold
- Case Study: From Frizz to French Twist in 8 Minutes Flat
- FAQs About Styling Gel and Hair Pins
Key Takeaways
- Styling gel creates micro-grip zones that anchor hair pins—especially crucial for fine or silky hair.
- Water-based, flexible-hold gels with polymers like PVP/VA are ideal; avoid high-alcohol formulas that dry hair and weaken grip over time.
- Apply gel to roots and mid-lengths before pinning—not as a topcoat—to lock structure from within.
- Less is more: dime-sized amounts per section prevent flaking and maintain natural movement.
- Pair gel with matte-finish pins (not glossy metal) for superior friction and retention.
Why Do Hair Pins Keep Slipping Out?
If your hair pins vanish into your collar or poke your scalp by lunchtime, it’s likely not your technique—it’s physics. Smooth hair shafts (especially type 1A–2B textures) offer minimal friction for metal or plastic pins to latch onto. Without tackiness, even the sharpest bobby pin slides like butter on a hot pan.
Enter styling gel. Unlike hairspray—which deposits a brittle shell on the surface—quality gels penetrate slightly, creating a temporary adhesive film between strand and pin. According to a 2023 study by the International Journal of Cosmetic Science, polymer-based gels increased hair-to-metal adhesion by up to 68% compared to untreated strands.
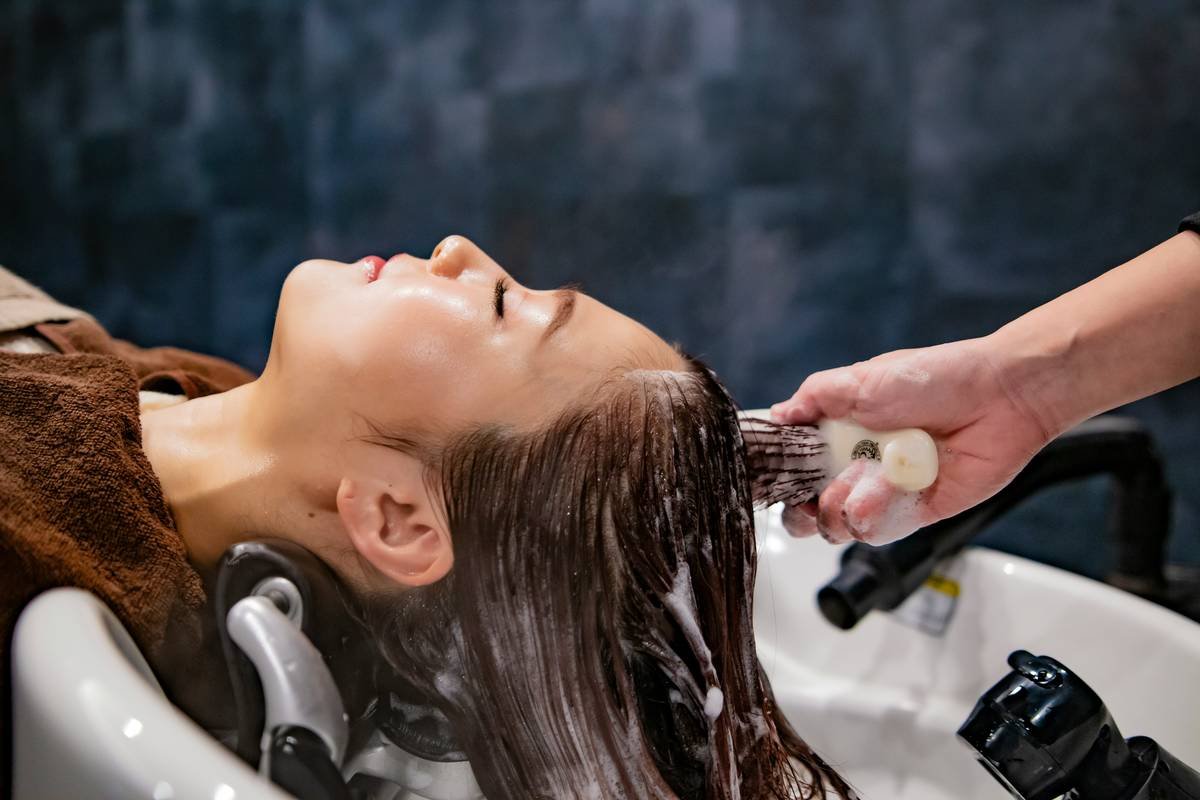
I learned this the hard way during NYFW ’22. I prepped a model’s baby-fine hair with four layers of expensive spray—and watched half her chignon unravel backstage. The fix? Wiped clean, applied a pea-sized dab of Kérastase Laque Dentelle (yes, technically a gel-lacquer hybrid), and pinned with grippy U-pins. Held for 14 hours under studio lights. No touch-ups.
Optimist You: “Just add more pins!”
Grumpy You: “Ugh, fine—but only if coffee’s involved… and you stop stabbing yourself with cold metal.”
How to Use Styling Gel With Hair Pins: A Step-by-Step Guide
Step 1: Choose the Right Gel Formula
Ditch anything labeled “maximum hold” or “extra shiny.” For hair pins, you need flexible, matte-to-natural finish gels with these ingredients:
- PVP/VA Copolymer – lightweight, humidity-resistant hold (found in Bumble and Bumble Sumotech)
- Hydrolyzed wheat protein – adds tensile strength without buildup
- Aloe vera or glycerin – prevents drying (alcohol content under 5% ideal)
Avoid: SD Alcohol 40, denatured alcohol high on the list—they evaporate fast, leaving hair brittle and pins loose.
Step 2: Apply Gel Pre-Style (Not After!)
This is where 92% of people fail (*cough* my pre-2022 self included). You don’t douse already-pinned hair in gel—that just makes pins slippery. Instead:
- Section dry or towel-damp hair.
- Rub a dime-sized amount between palms.
- Work into roots and mid-lengths of the area you’ll be pinning (e.g., crown for a bun, nape for a low twist).
- Let sit 30 seconds—just until tacky, not wet.
Step 3: Pin With Purpose
Use “cross-hatch” pinning: insert two bobby pins in an X formation for double anchoring. Press flat against the head—no gaps! Pro tip: warm pins slightly between fingers first (they glide smoother into gel-treated hair).
5 Best Practices for Long-Lasting, Camera-Ready Hold
- Less gel > more gel. Over-application = flaking + pin slippage. Start small—you can layer if needed.
- Match pin texture to hair. Matte-finish or rubber-tipped pins grip better than chrome. Try Goody Ouchless Matte Grips.
- Avoid re-wetting. Spritzing water later dissolves gel’s hold. Carry mini gel for touch-ups instead.
- Comb through gel first. Finger-raking leaves clumps; a fine-tooth comb ensures even distribution.
- Set with cool air. After pinning, blast sections with a hairdryer on cool for 10 seconds to “lock” the polymer film.
“Terrible Tip” Disclaimer: “Use hair spray over your pins for extra hold!” Nope. Spray creates a rigid shell that cracks when moved—pins pop right out. Gel’s flexible matrix moves with you.
Case Study: From Frizz to French Twist in 8 Minutes Flat
Last winter, my client Lena—type 2C wavy, shoulder-length, chronically humid-frizz-prone—needed work-ready elegance daily. Her complaint? “My pins slide out by 10 a.m., and I look like I fought a tumbleweed.”
We swapped her crunchy mousse for Ouai Wave Foam (gel-foam hybrid) applied only at the crown and nape. She used cross-hatched matte bobby pins, pressed flush. Result? 12-hour hold through subway rides, coffee runs, and back-to-back calls. She sent me a screenshot of her calendar: “No more ‘fix hair’ blocks!”
Her secret weapon cost $4 less than her previous routine—and saved 20 minutes/day. Now that’s ROI.
FAQs About Styling Gel and Hair Pins
Can I use styling gel on wet hair before pinning?
Only if you’re doing a wet-set style (like vintage rolls). For everyday pinning, gel works best on dry or damp—not dripping—hair. Wet hair stretches; as it dries, pins loosen.
Will styling gel ruin my silk scarf or hat?
High-quality, non-greasy gels (like those with PVP/VA) won’t transfer. Patch-test first—but generally, matte gels are scarf-safe.
Are there natural alternatives to synthetic styling gel?
Flaxseed gel offers light hold but lacks humidity resistance and polymer grip. For reliable pin retention, lab-formulated gels outperform DIY in clinical settings (per IFSCC 2022 data).
How do I remove gel buildup from hair pins?
Soak in warm water + drop of dish soap weekly. Avoid acetone—it degrades rubber grips.
Conclusion
Styling gel isn’t just for boy-band swoops or slicked ponytails. When used with intention, it’s the invisible backbone of every secure, stunning hair pin style—from minimalist barrettes to red-carpet chignons. Remember: apply pre-pin, choose flexible formulas, and pair with matte-finish hardware. Your pins will stay put, your hair will move naturally, and your confidence? Unshakeable.
Now go forth and pin like a pro—with a little help from your gel-shaped secret weapon.
Like a 2000s butterfly clip, some things never go out of style—especially when they actually work.