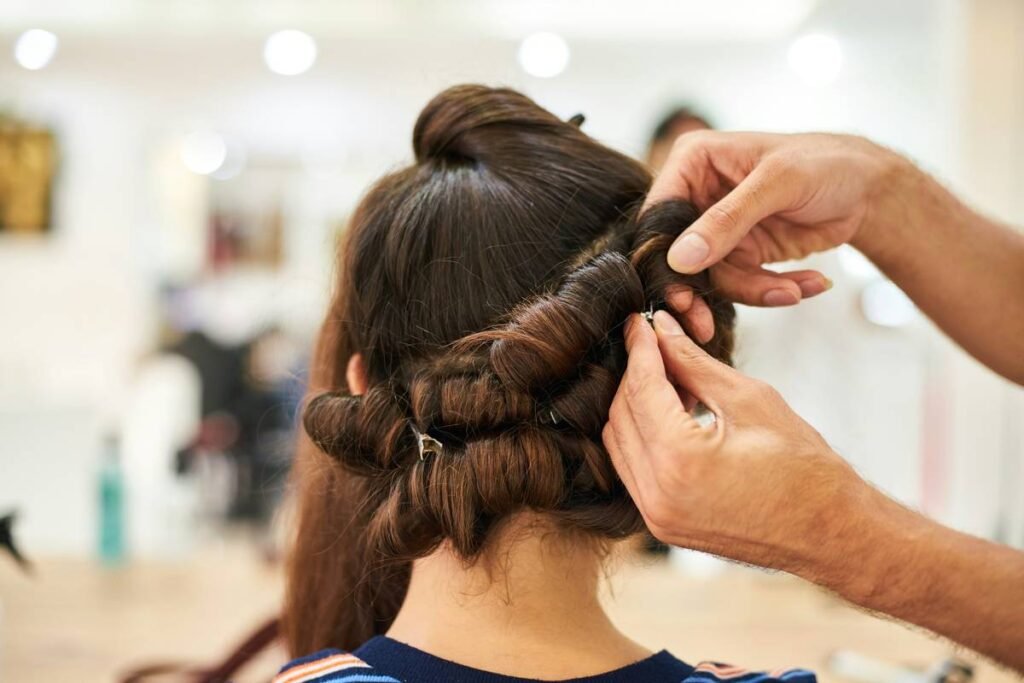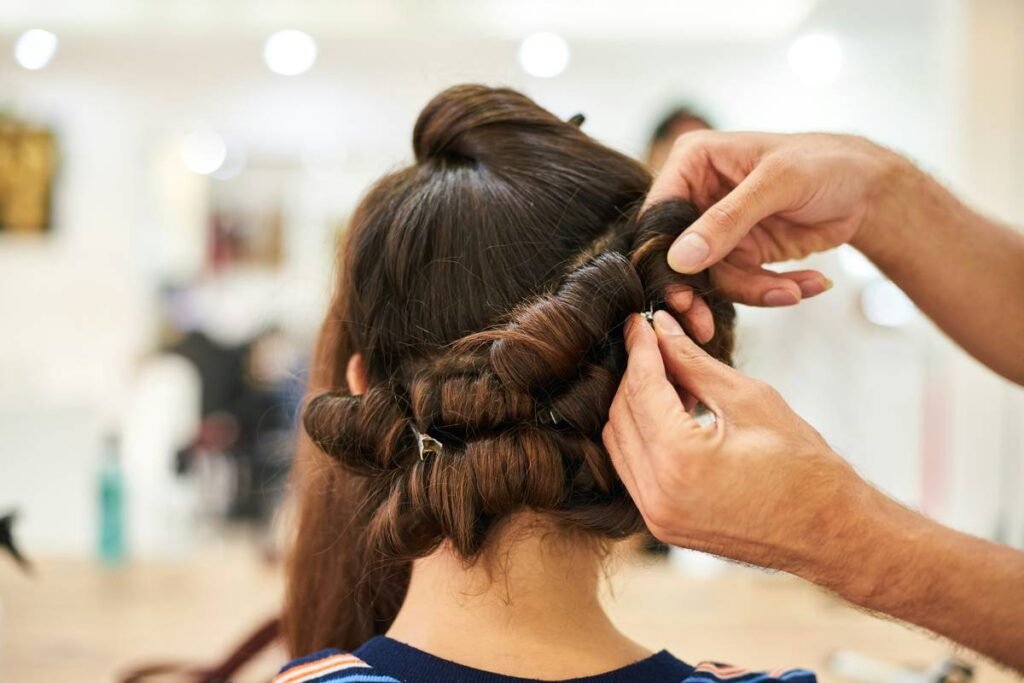
Every time you twist, clip, or pin your hair before styling—you’re setting yourself up for invisible damage. Those sleek updos? That bouncy half-up? They start strong but end in split ends and brittle strands. The culprit isn’t your technique. It’s what you’re *not* applying first: heat protectant.
The Silent Saboteur Behind Broken Hair Pins and Frayed Ends
Most people treat hair pins like neutral tools—innocent metal or plastic holding things in place. But under heat? They become miniature frying pans. Ceramic straighteners, hot rollers, even blow-dryer barrels—they all superheat the pin’s surface on contact.
And that trapped heat radiates directly into the strand it’s gripping.
No barrier = protein degradation. Fast. Your pin might hold perfectly—but the hair underneath is getting scorched. You won’t see it until weeks later, when sections snap mid-style or shed like autumn leaves.
How to Style with Hair Pins Safely (and Keep Hair Intact)
Heat protectant isn’t optional—it’s non-negotiable armor. Here’s how to integrate it without messing up your grip or shine.
Pre-Application Matters More Than Product Choice
Spray or serum? Doesn’t matter—as long as it’s applied *before* pinning. Mist evenly 6–8 inches from dry (or damp) hair. Wait 30 seconds. Then section and pin. Skipping this wait? You’ll get product buildup under the pin—slippery, ineffective, and prone to slippage.
Avoid These “Protective” Styling Traps
Coconut oil ≠ heat protectant. Neither is argan oil alone. Yes, they offer *some* thermal buffering—but their smoke points are far below styling tool temps (most hit 450°F). Real heat protectant formulas contain polymers like PVP/VA that form a true shield. Oils just fry.
| Method | Heat Defense Level | Hair Pin Stability | Cost per Use |
|---|---|---|---|
| No protectant | None (direct exposure) | High (initially) | $0 |
| Natural oil only | Low (smoke point exceeded) | Medium (slippery) | $0.20 |
| Dedicated heat protectant + 30-sec wait | High (polymer shield active) | High (grip intact) | $0.35 |
Pin Placement Strategy After Application
Don’t cram pins into oversaturated zones. Focus on mid-lengths and ends—where heat lingers longest. Scalp-area pins? Less critical, but still vulnerable during blowouts. And never clamp multiple pins on the same spot—that concentrates heat like a magnifying glass on dry grass.
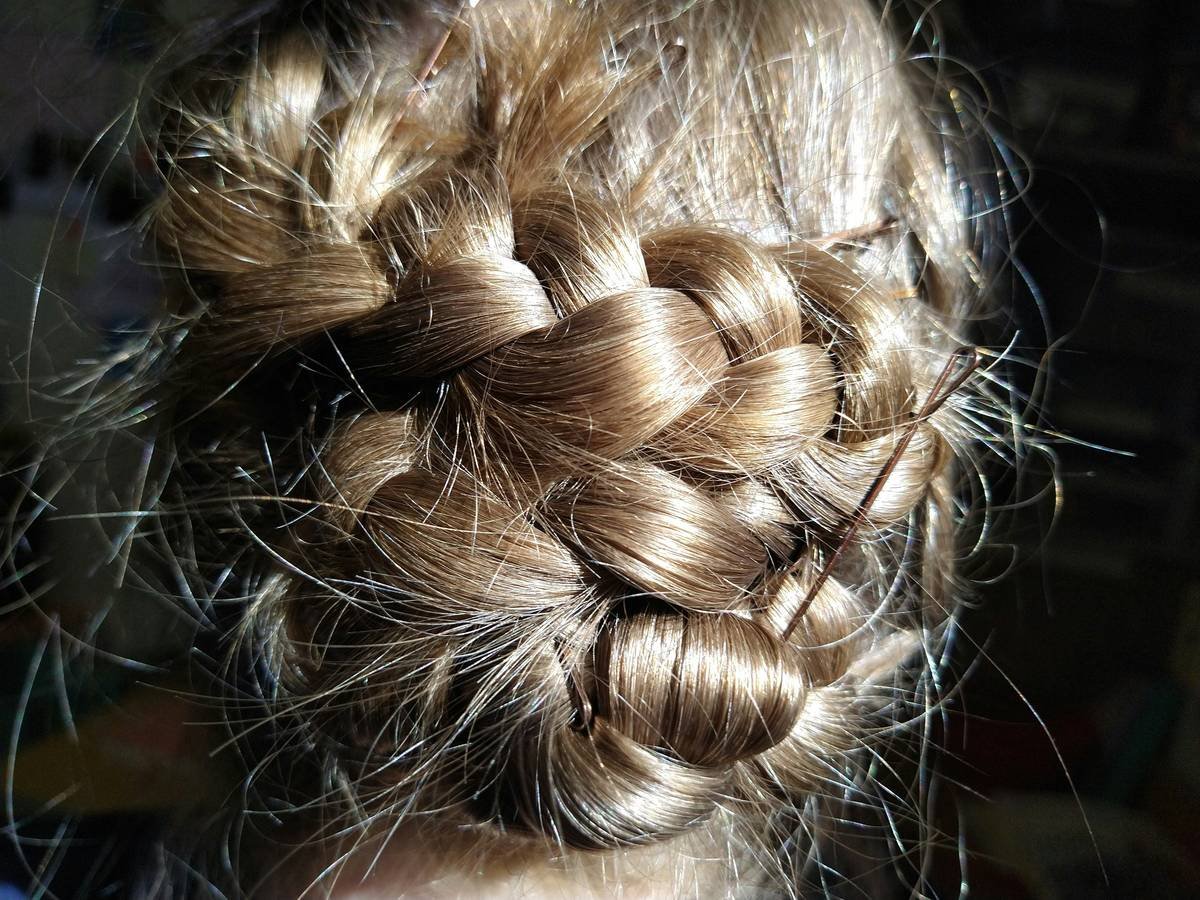
The Industry Secret: Heat Protectants Work Better With Metal Than Plastic
Here’s something salon pros won’t shout about: metal pins actually *enhance* heat protectant performance—if used right. Why? They conduct heat evenly, preventing localized hot spots that scorch hair unevenly. Plastic pins? They melt slightly, creating micro-adhesions that rip cuticles when removed.
But—and this is key—the protectant must fully coat the strand *before* metal contact. Otherwise, conduction works against you. Test it: next time, use untreated hair with a metal pin under a flat iron. Smell that? That’s keratin burning.
FAQ
Do I need heat protectant if I’m only using pins without hot tools?
No—if zero heat is involved, skip it. Pins alone don’t cause thermal damage.
Can leave-in conditioner replace heat protectant?
Rarely. Most lack film-forming polymers. Check labels for PVP, VP/acrylates copolymer, or hydrolyzed wheat protein—without these, it’s not true protection.
How often should I reapply heat protectant during styling?
Once is enough—unless you rewet hair or towel-dry mid-process. Reapplying over dry hair leads to stiffness and buildup under pins.